

Mini superheroes of the egg carton kind! Unfortunately they missed the lego movie opening (villains to catch and all that), but surely it's never too late for a bit of superhero crafting?
You will need:
Egg carton
Pencil
Ruler
Craft scissors
Nail scissors or similar (optional) Adult supervision required
Paint
Fine paintbrush
Fine paintbrush
Craft glue
Fine black felt-tip or gel pen
Black marker pen (like a Sharpie)
Yellow and black paper (or plain paper to paint)
Yellow and black paper (or plain paper to paint)
1. Roughly cut out two egg carton cones. On one, draw a pencil line around the cone, just above the bumpy joins at the bottom. Cut along the line. This will be the body.


2. The second cone is for the head, and you only need the very top part. Either estimate this, or use a pencil and ruler to mark about 1.5cm (1/2in.) from the top on all sides, join the marks and cut out. A handy way to do this is to cut up two adjacent corners to the pencil line, bend the card back and cut off the flap - it should be easier now to cut along the rest of the line.
(If your egg cones have holes in the top, brush glue inside the cone and push a small piece of newspaper up to fill the hole.)

3. On the body cone, lightly draw a pencil line around it, about half way up. Don't worry if the line is a little wobbly, it's just for guidance.


2. The second cone is for the head, and you only need the very top part. Either estimate this, or use a pencil and ruler to mark about 1.5cm (1/2in.) from the top on all sides, join the marks and cut out. A handy way to do this is to cut up two adjacent corners to the pencil line, bend the card back and cut off the flap - it should be easier now to cut along the rest of the line.
(If your egg cones have holes in the top, brush glue inside the cone and push a small piece of newspaper up to fill the hole.)
We cut out another body and head for Robin.

Cut up the middle of one cone side to this pencil line, then wiggle and turn your scissors, and cut along the pencil line to the corner and just a little beyond.
Do the same on the other side so you've cut a 'T' shape.
Repeat this 'T' shape on the opposite side of the cone.
Repeat this 'T' shape on the opposite side of the cone.


4. To form the legs, press the cut edges in the middle towards each other and squeeze and press each one into a more rounded shape. You should end up with what looks like an impressive pair of flares! Trim if you feel they are too wide!


5. For the arms, cut a thin strip of card from the egg carton lid - about 5mm (1/4in.) wide and 5cm (2in.) long. Round it at the ends for the hands.

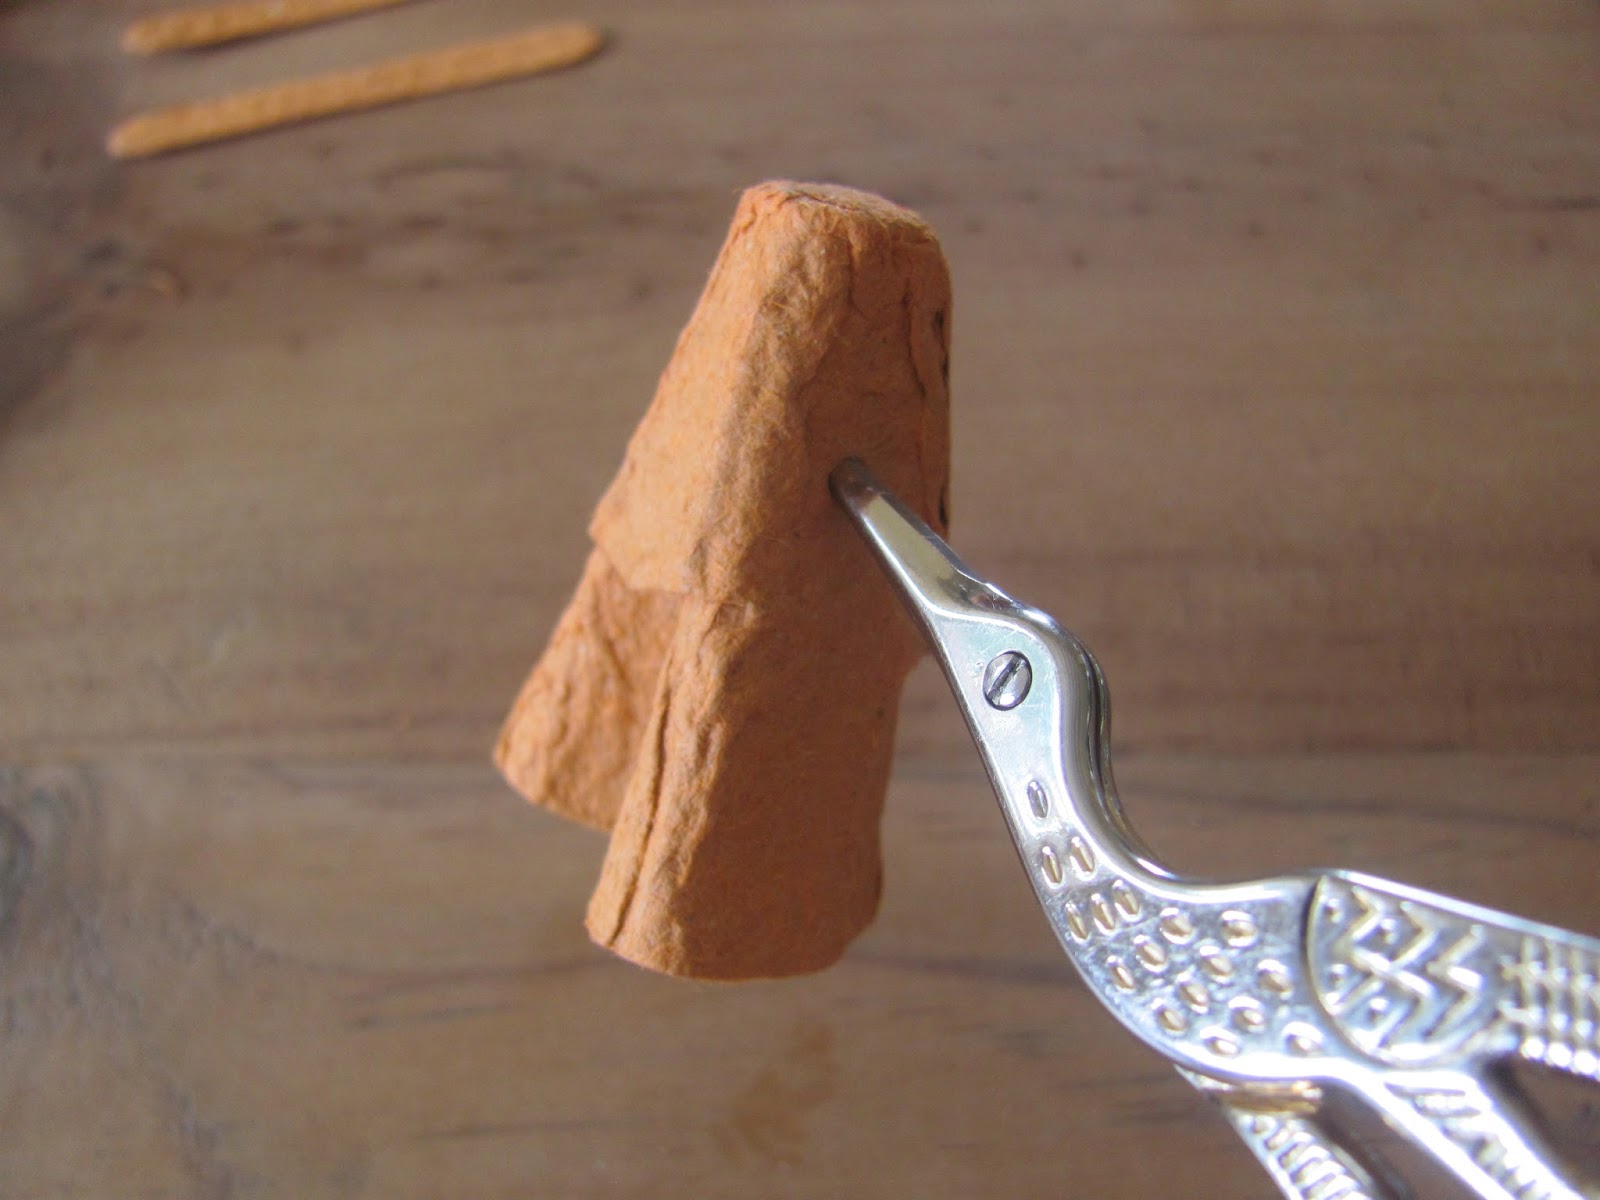
6. Either cut the arm strip in half after the painting step (Step 10) and glue the pieces either side of the body, or, with adult supervision, use the nail scissors to make a hole in the middle of one of the arm sides (keep the scissors closed, press down and twist from side to side.)
Once you've made the hole, snip up to the top of the cone and down the other side until the slot looks level. Cut an extra sliver out, to widen the gap for the arms.
Make sure the slot goes far enough down the body, so when you push the arm strip in, it sits below the top part of the cone (the head will be glued here later)


8. Cut enough off each end so the points sit above the top of the head cone. Glue them either side.


9. For Batman's cape, fold a piece of paper (black would be best, but we didn't have any, and any colour will do, just paint or colour-in after you've cut it out). Draw half the cape on the fold - use the body as a guide, so you don't make the cape too big. Cut out.


10. Now, painting time!
For batman, paint the body and arms grey. When dry use a permanent black marker (like a sharpie) to colour in his gloves and his superhero undies!

11. With a thin paintbrush and yellow poster or acrylic paint, dab a good layer on his chest for the batman emblem. Either paint his belt too, or (as we did) stick on a strip of yellow paper.

12. If you want, paint the bottom half of Batman's face skin colour (mix lots of white with a dab of red and a tiny bit of blue and yellow). We painted the top half white too, but only because the egg carton we used was orange, and we didn't want him to have orange eyes! If you have a neutral coloured box there's no need to paint the face, especially if you want to speed things up.

13. When the paint is dry, use a fine black pen to draw the eye and mouth holes, then the easiest way to finish off, is to colour in around them carefully with the pen. When you've coloured in around the trickiest bits (and added a mouth) paint (or colour-in) the rest black.


14. Use the fine black pen to add detail to the belt and logo. Glue the cape on the back before gluing the head in place.

15. For Robin, make a cape in the same way as Batman's, but out of yellow paper (or plain and then paint it). Make it shorter and straight at the bottom.

16. Keep the arm strip out and paint it green. Paint the legs green too and the body red. If you want, paint the face a skin colour and the hair brown, but if you have a neutral coloured cone, you could just leave the face and paint or colour-in the hair, to speed things up.

17. Dot on some yellow paint with a fine paintbrush for buttons and paint a belt, or stick on a thin strip of yellow paper, as before.

18. Use a fine black pen to draw a mouth and eye holes - then colour-in around the eyes to form the mask.


19. Use the black pen to add detail to the front of Robin's tunic and to colour-in his hands (gloves). Glue the cape on the back before gluing the head in place.


